

AlmaLinux 9.3インストール
AlmaLinux OSは、CentOSの代替として米CloudLinuxが立ち上げたプロジェクト。現在、AlmaLinux OS Foundationを開発母体としている。Red Hat Enterprise Linux 9.0 の一般提供に続いて2022 年 5 月 26 日AlmaLinux 9.0 がリリースされました。
Red Hat Enterprise Linux 9 と同様に、AlmaLinux 9 は Linux 5.14 カーネル、 GCC 11、Python 3.9、および RHEL9 と同じパッケージ バージョンを利用しています。
Cockpit Web 管理インターフェイス、カーネル ライブ パッチの機能強化、コンテナーとクラウドの統合の改善、OpenSSL 3、およびその他のセキュリティの改善が行われています。
今回は2023年11月13日にマイナーバージョンアップされたAlmaLinux 9.3をインストールします。
1.AlmaLinux 9.3 ダウンロード
AlmaLinux 9.3のインストールイメージは下記サイトへアクセスし、"AlmaLinux-9.3-x86_64-dvd.iso"をダウンロードする
https://vault.almalinux.org/9.3/isos/x86_64/
2.AlmaLinux 9.3インストール
インストールUSBメディア入れUSBメディアから起動するようBIOSの設定を変更します。
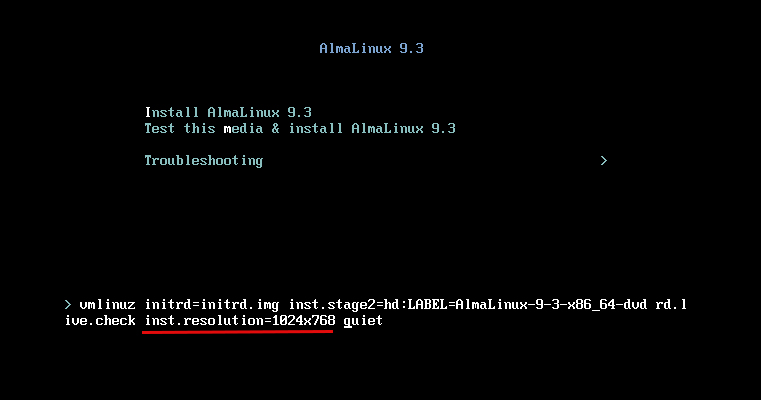
2.1 インストール初期画面
次のような画面になりますので、[tab]キーを押し、"inst.resolution=1024×768"と入力し[Enter]キーを押す。
こうすることでインストール画面の右端が切れずに表示されます。(Vmware等仮想環境にインストールする場合)
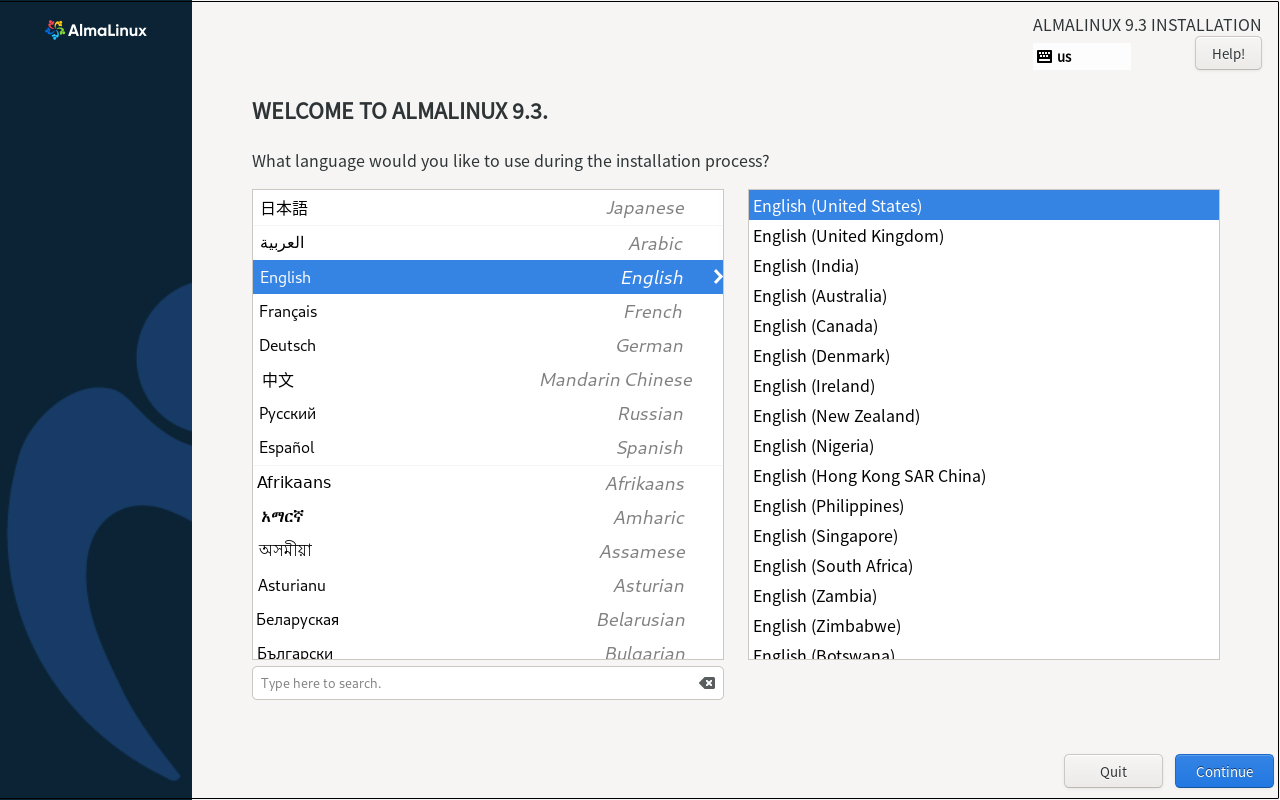
2.2 言語の選択
「English」を選択し「Continue」をクリックします。
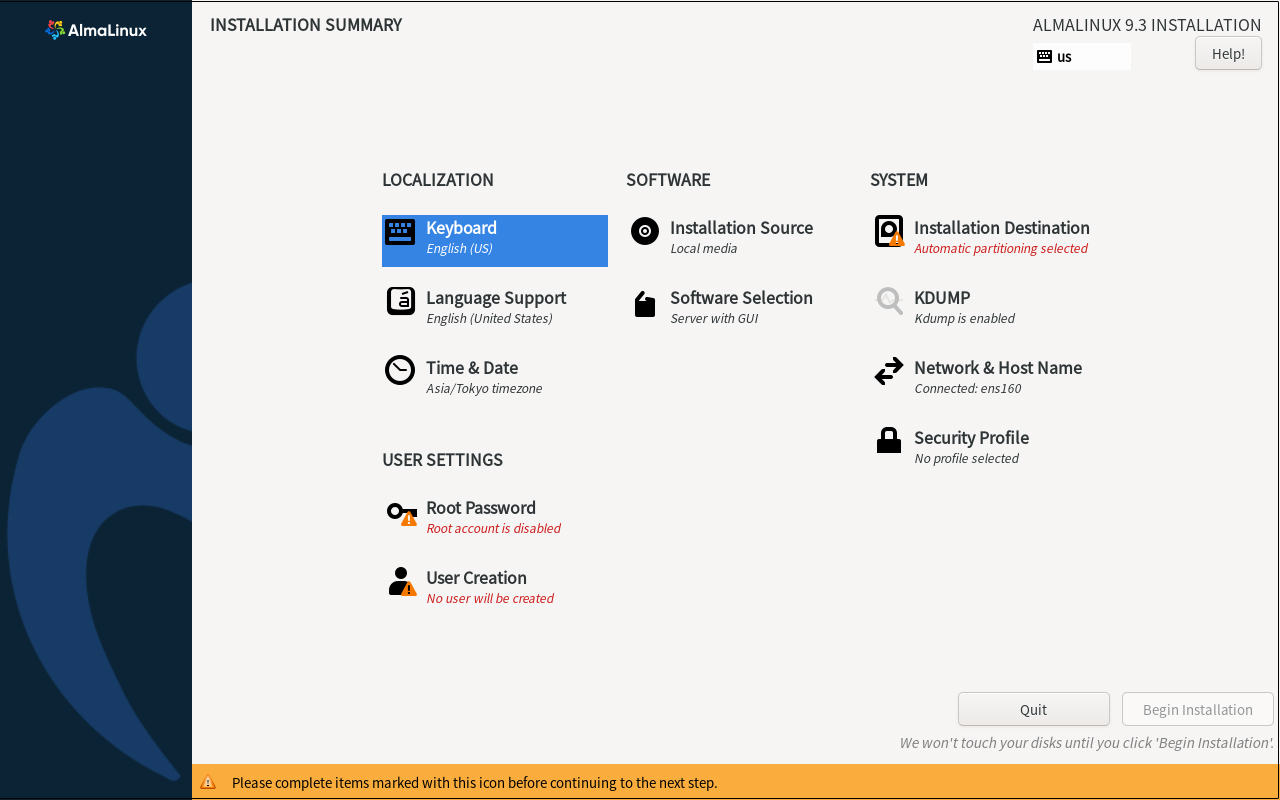
2.3 「Keyboard Layout」設定 [Keyboard]クリック
[+]ボタンをクリック
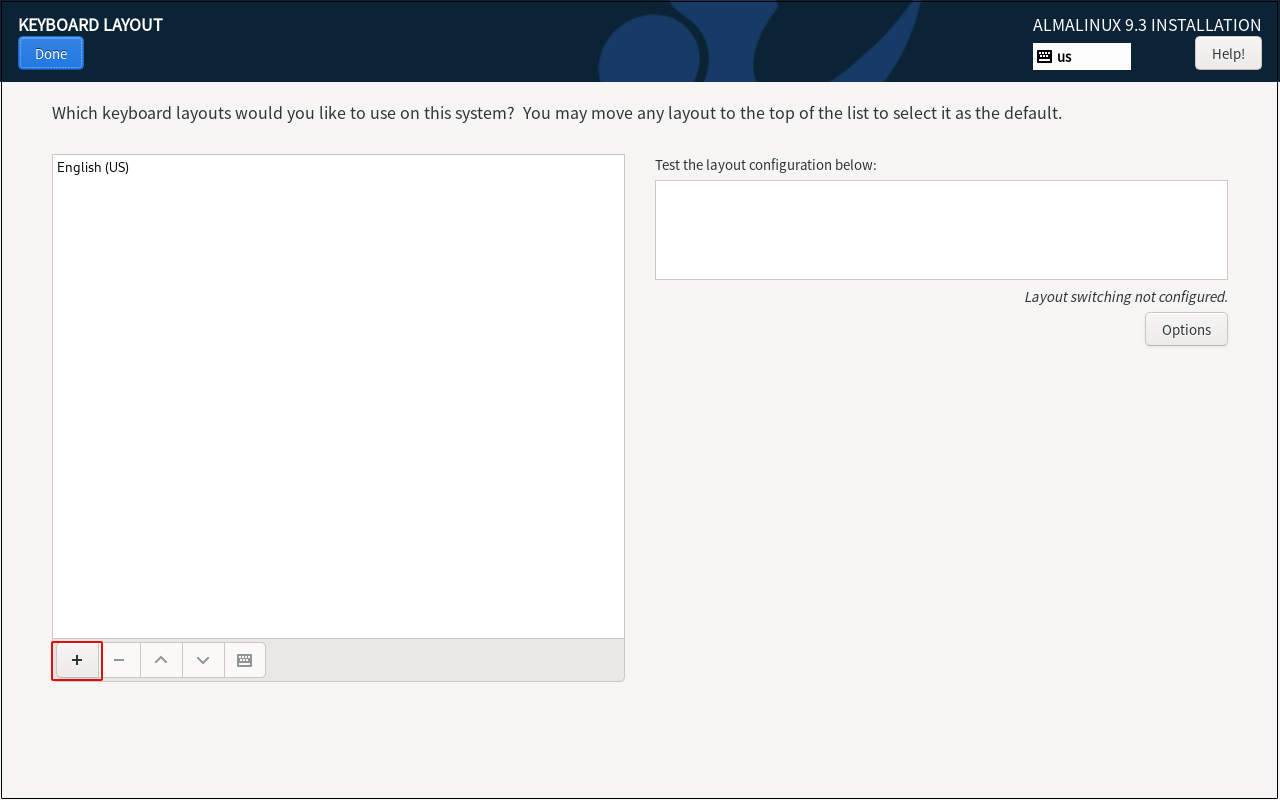
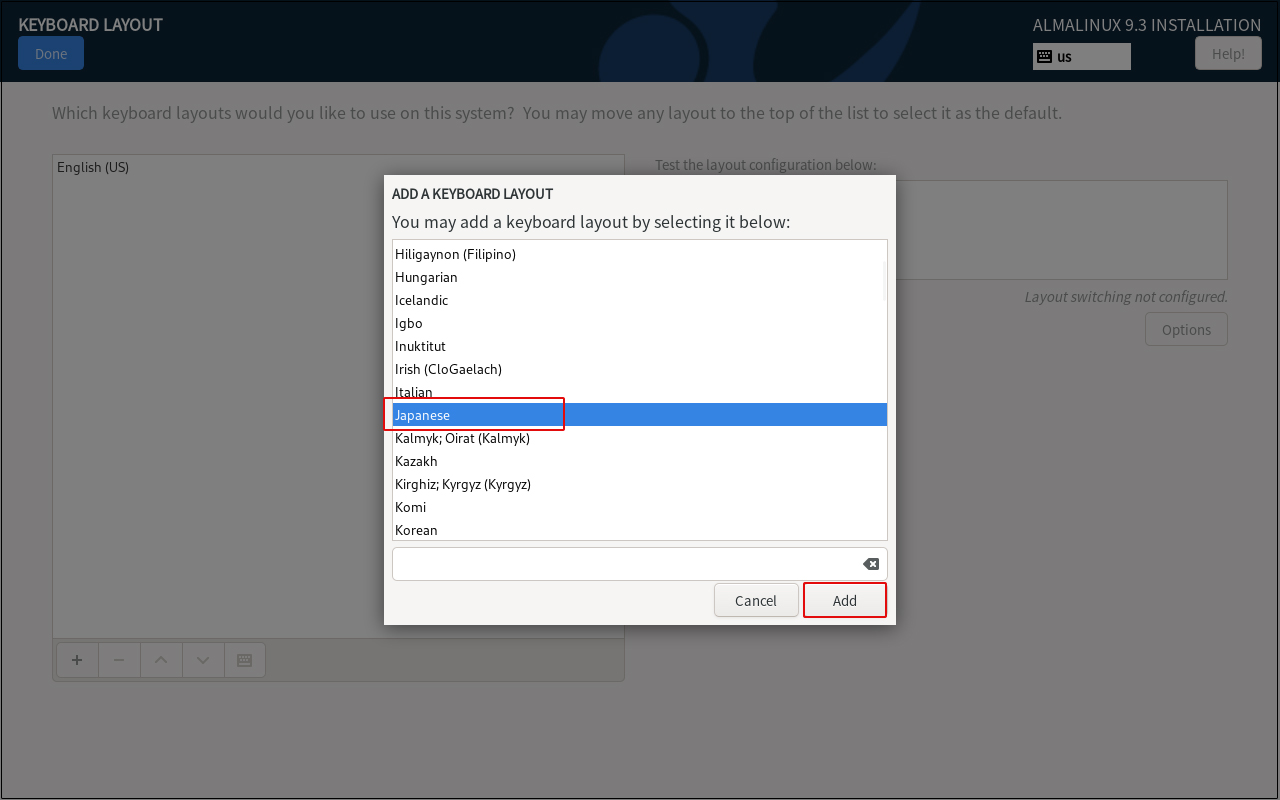
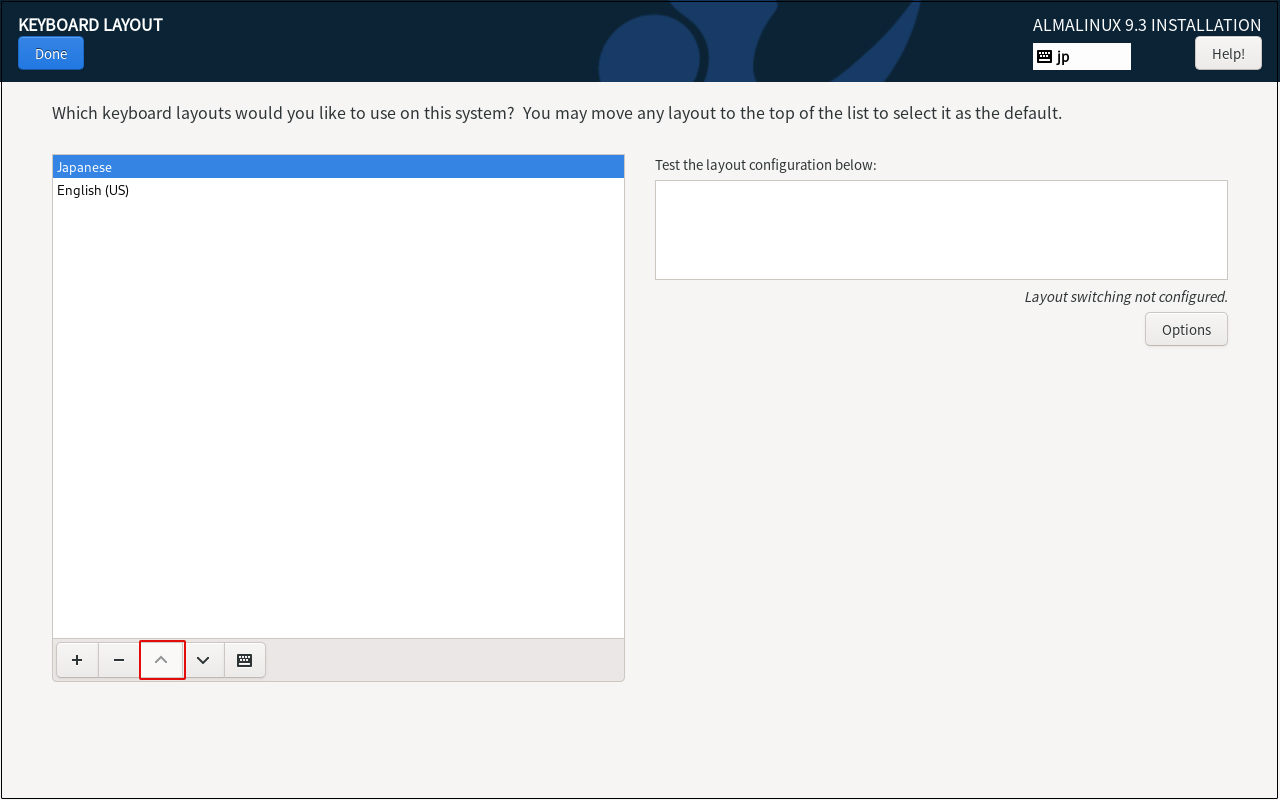
優先順位を変えるため、[Japanese]を選択し、[^]ボタンをクリックし、最上段に配置し、[Done]ボタンをクリック
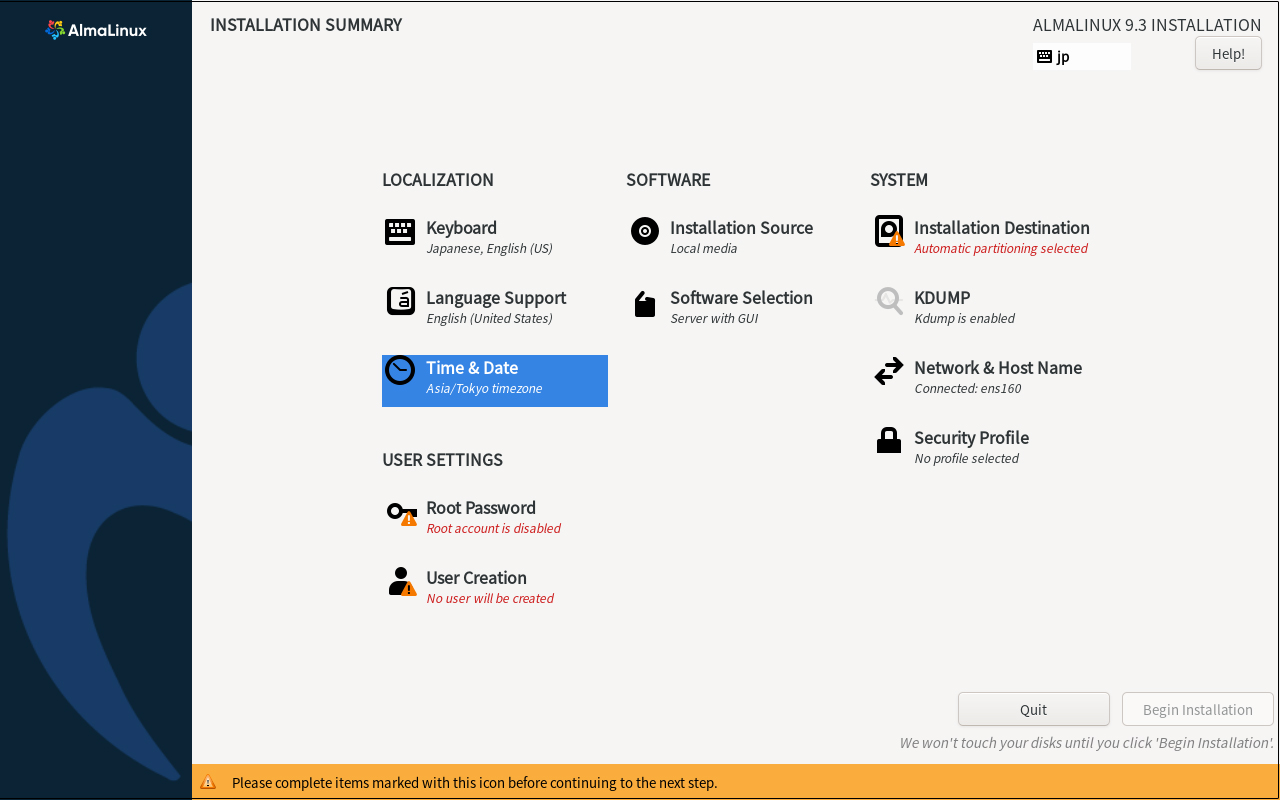
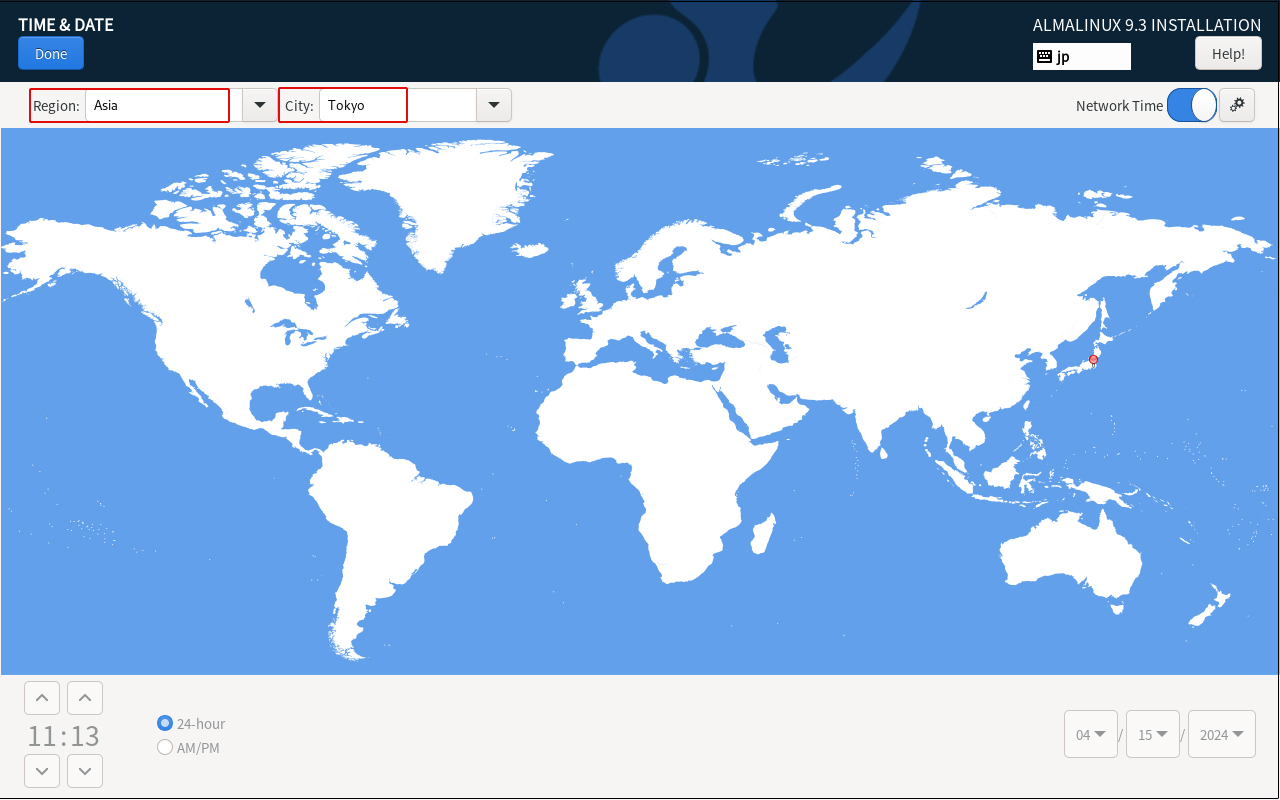
2.4 時刻設定 [Time & Date]クリック
Region:Asia City:Tokyo に設定する
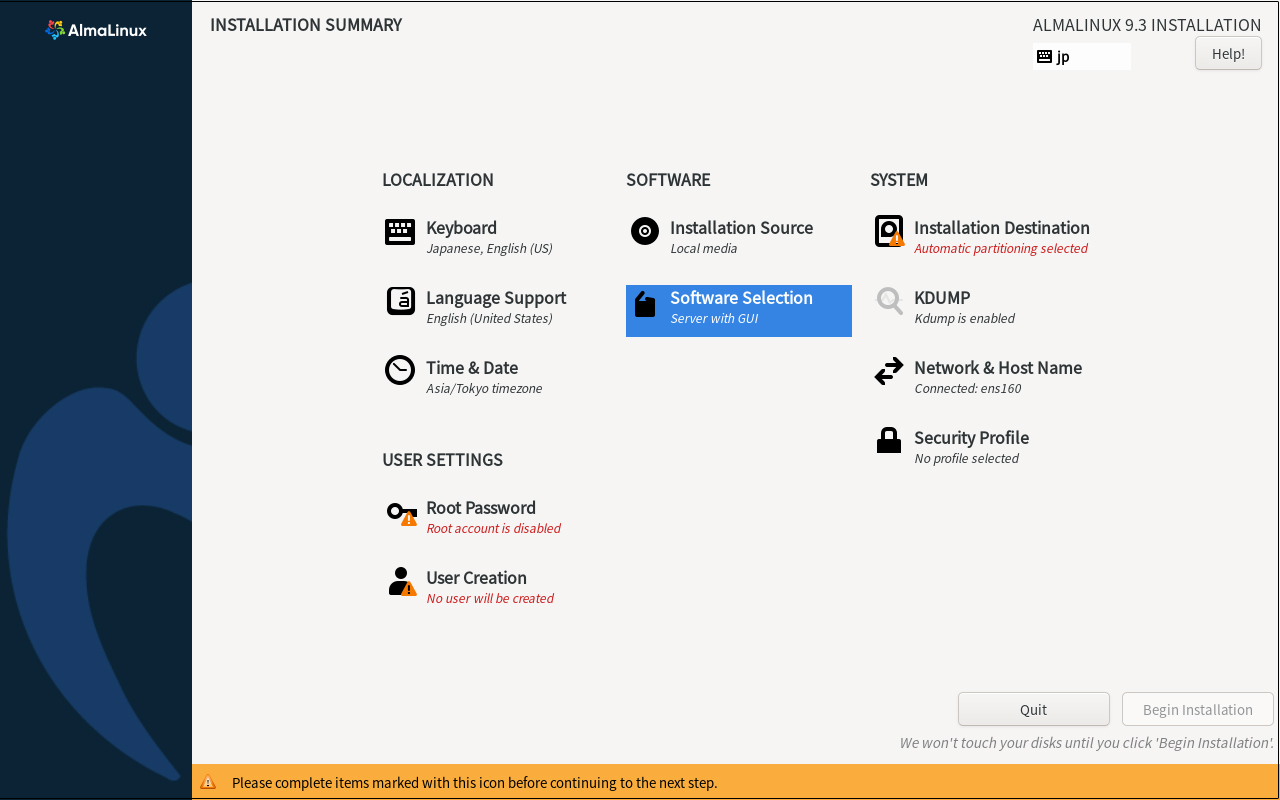
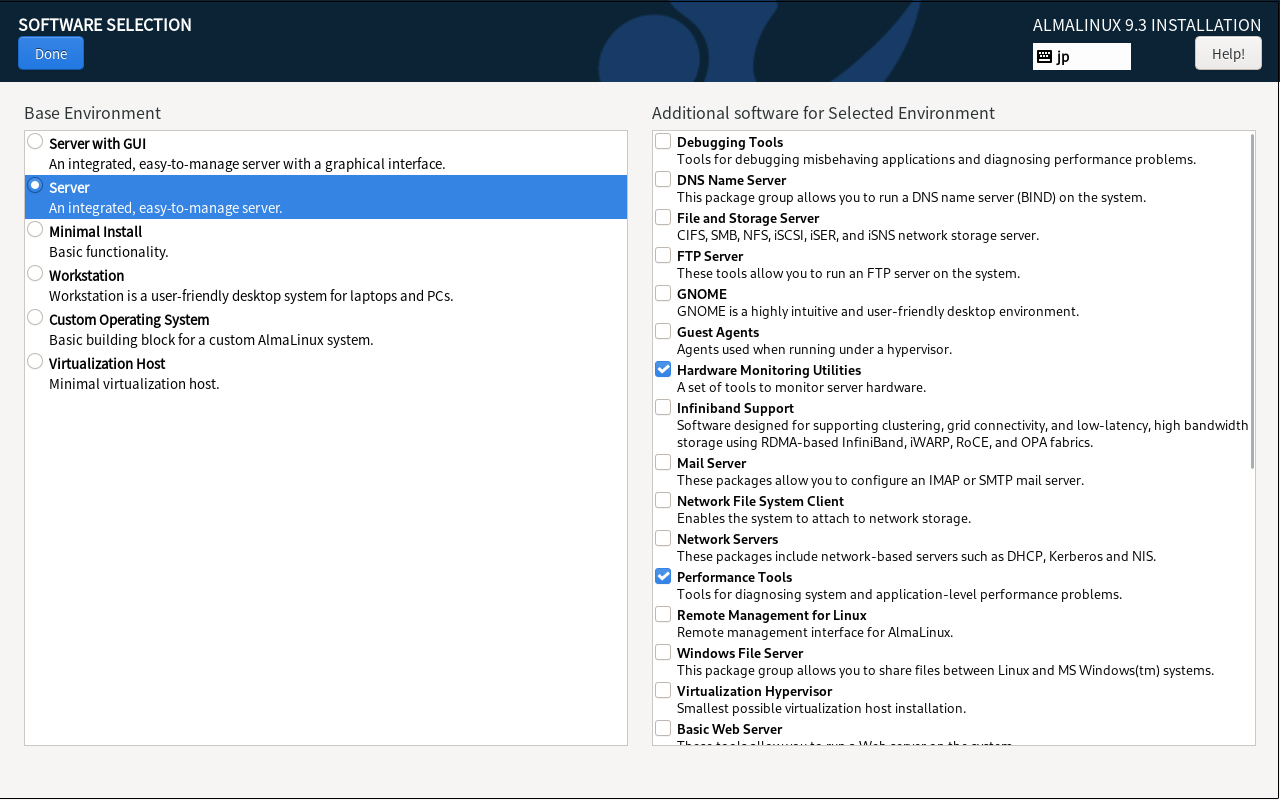
2.5 「ソフトウェアーの選択」設定 [Software Selection]をクリック
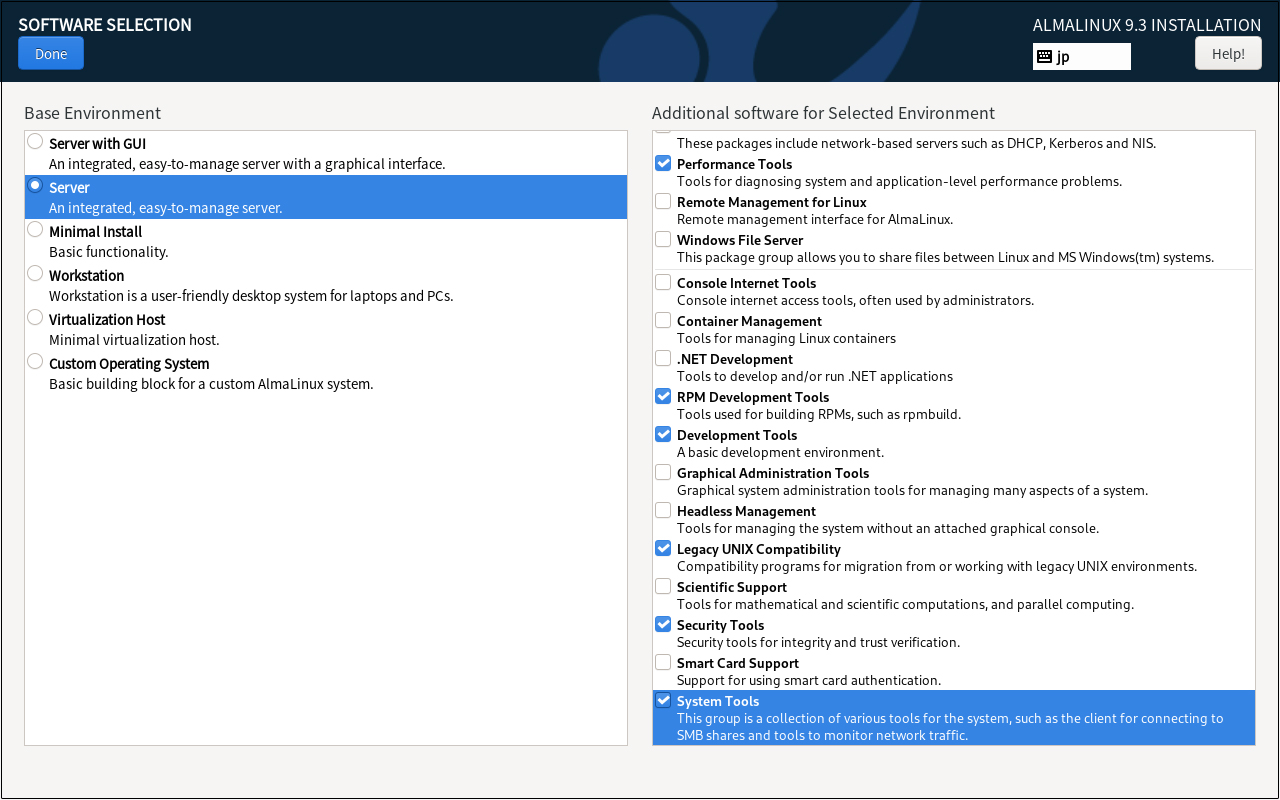
「Base Environment」は「Server」を選択し、右欄のソフトウェアは次を選択する
①Hardware Monitoring Utilities
②Performance Tools
➂RPM Development Tools
④Development Tools
⑤Legacy UNIX Compatibility
⑥Security Tools
⑦System Tools
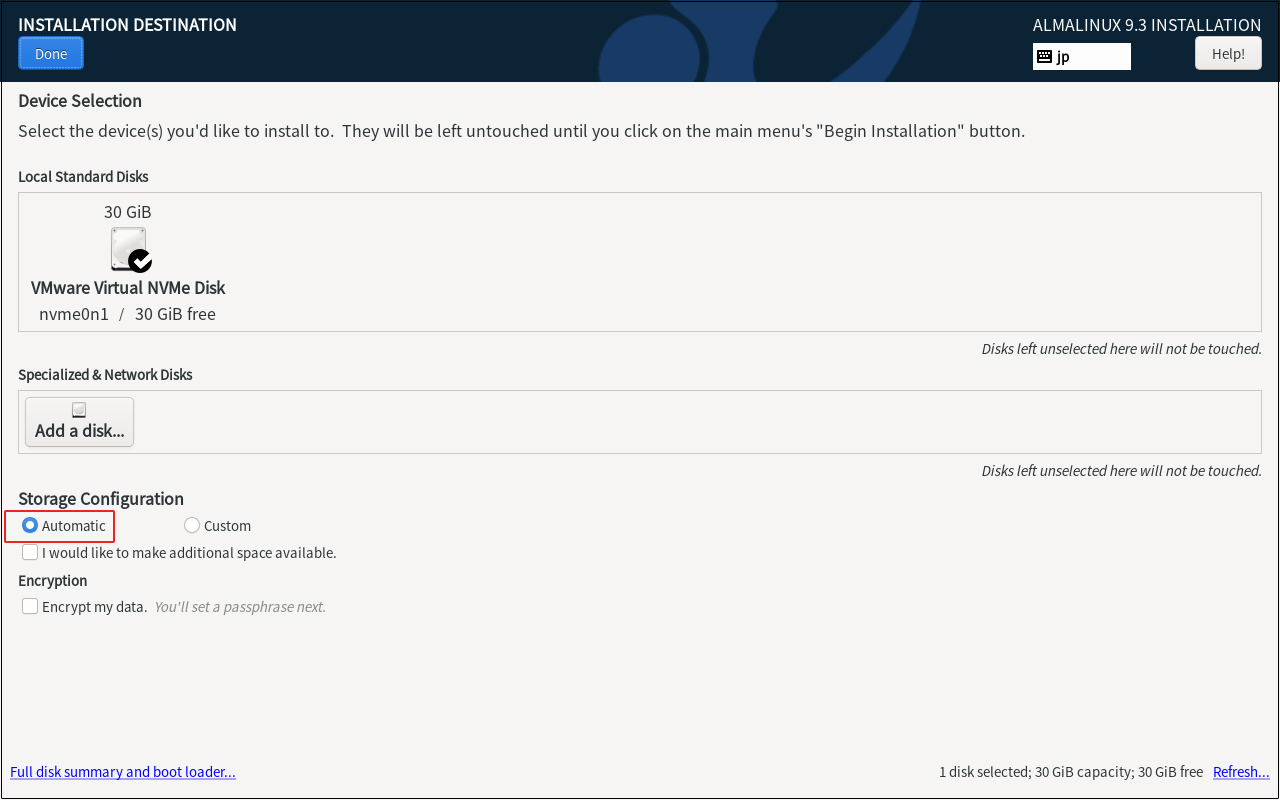
2.6 「インストール先」の設定 [Installtion Destination]をクリック

「Storage Configuration」を「Automatic」にし、「Done」クリック
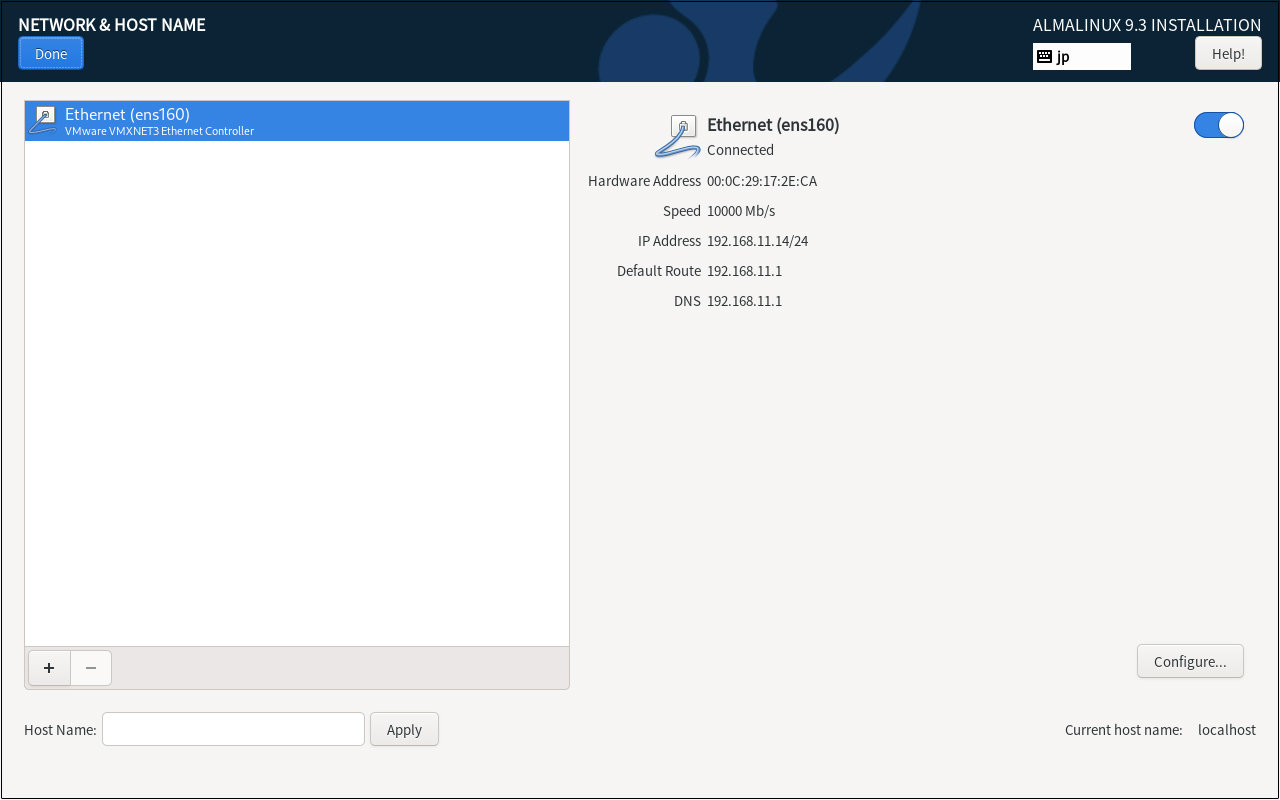
2.7 「Network & Host Name」設定
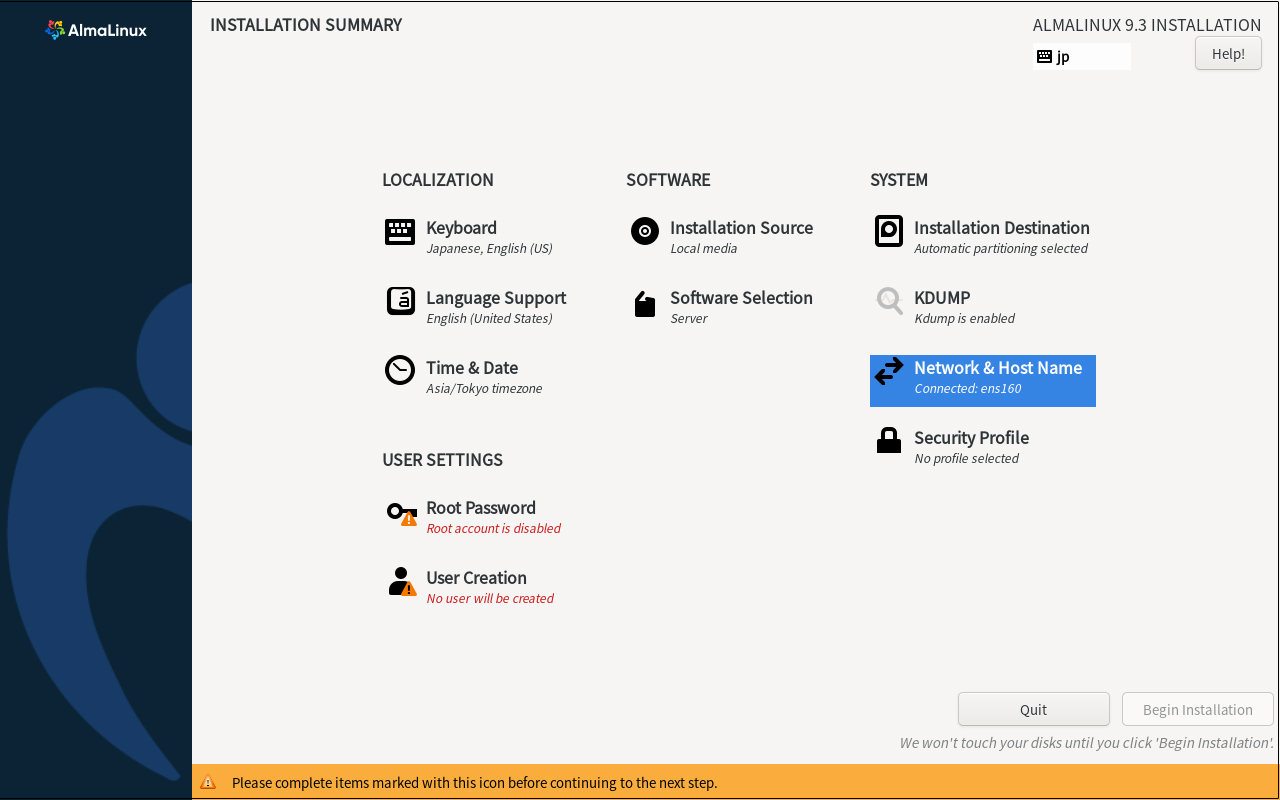
[Host Name]は設定せず、サーバーアドレスもDHCP有効のまま、デフォルトで進めますので[Done]をクリック
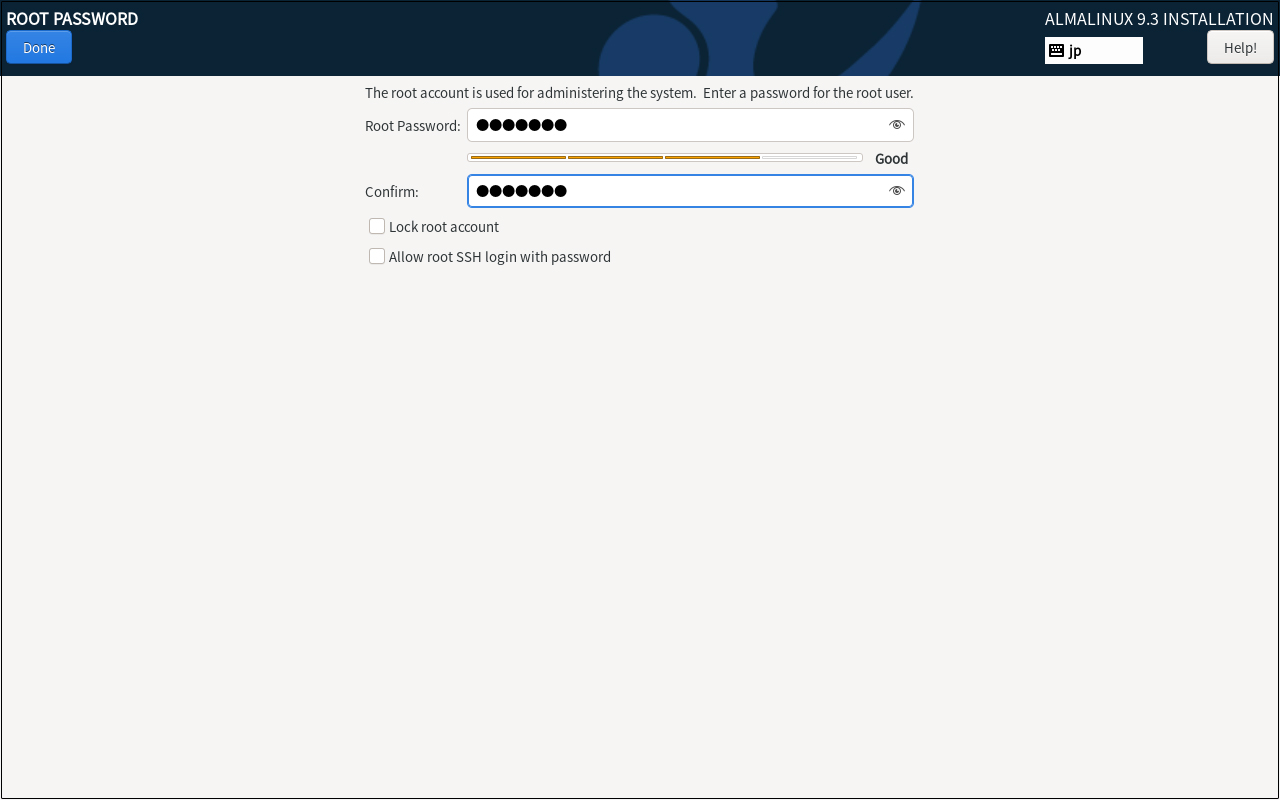
2.8 「Root Password」の設定
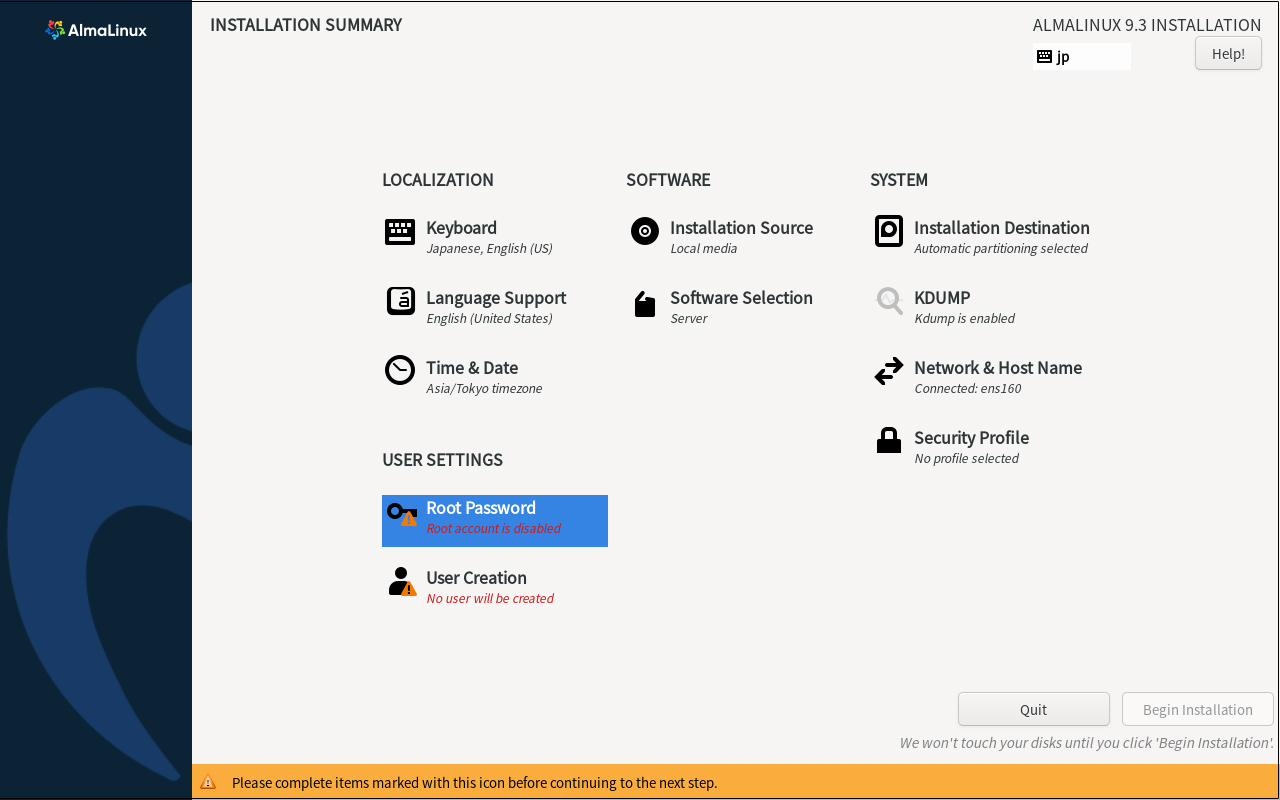
rootパスワードを入力し、「Done」クリック
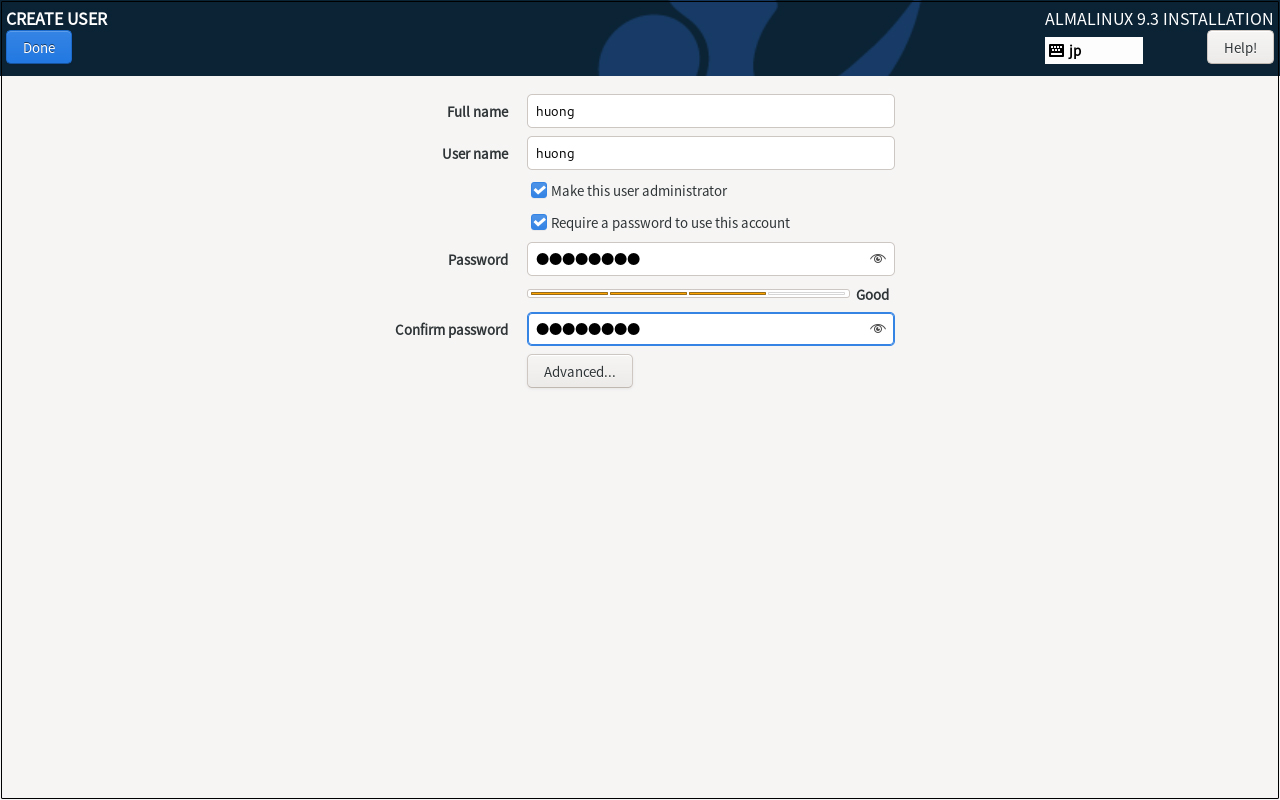
2.9 「User Creation」ユーザーの作成とパスワード設定
[Full name] [User name]に任意の名称をつけ [Make this user administrator]にチェックを入れる
[Password] は強固なものにしておく
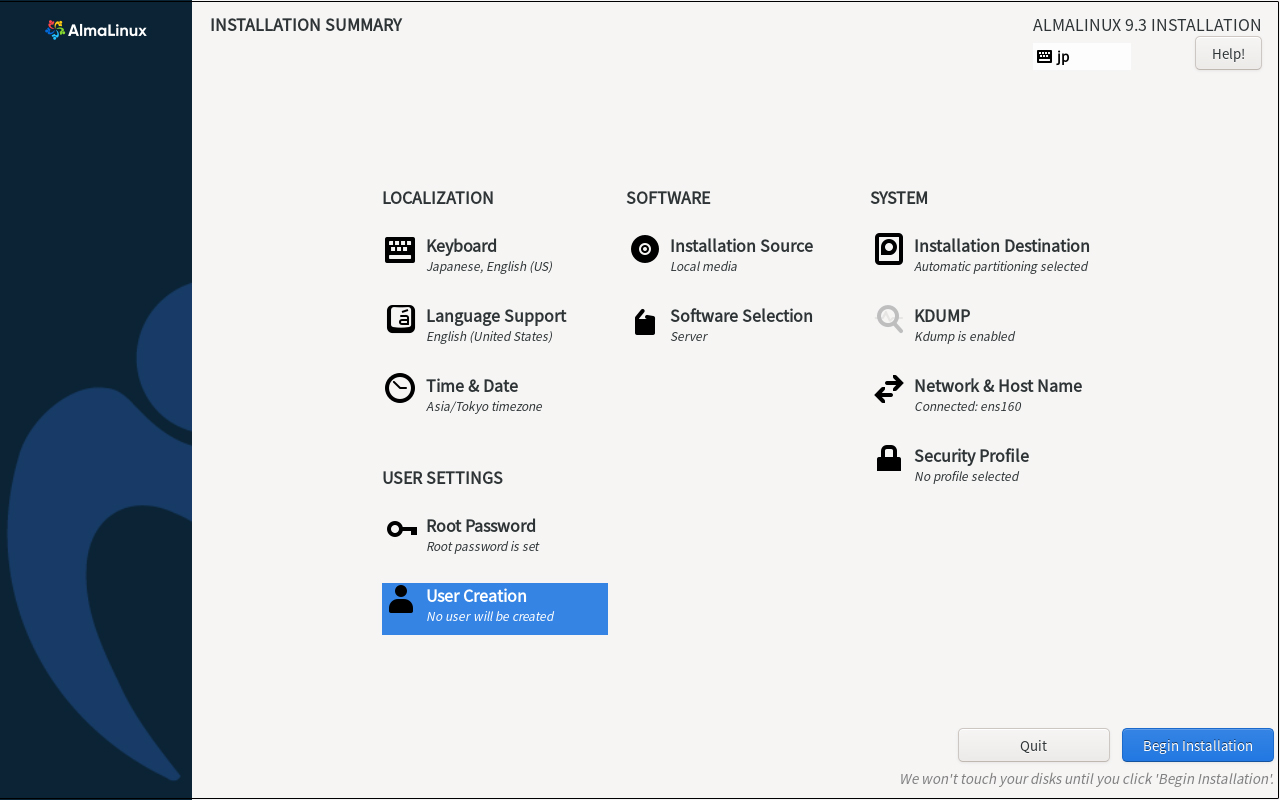
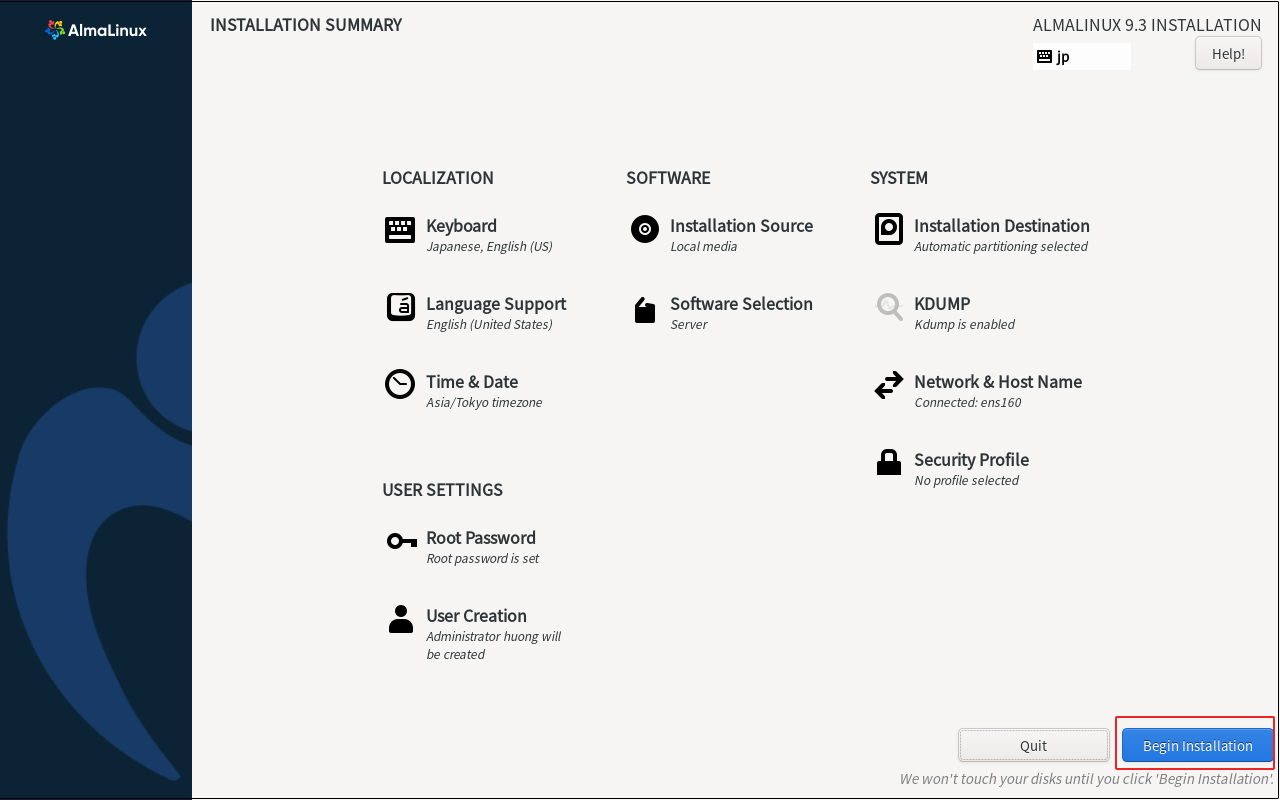
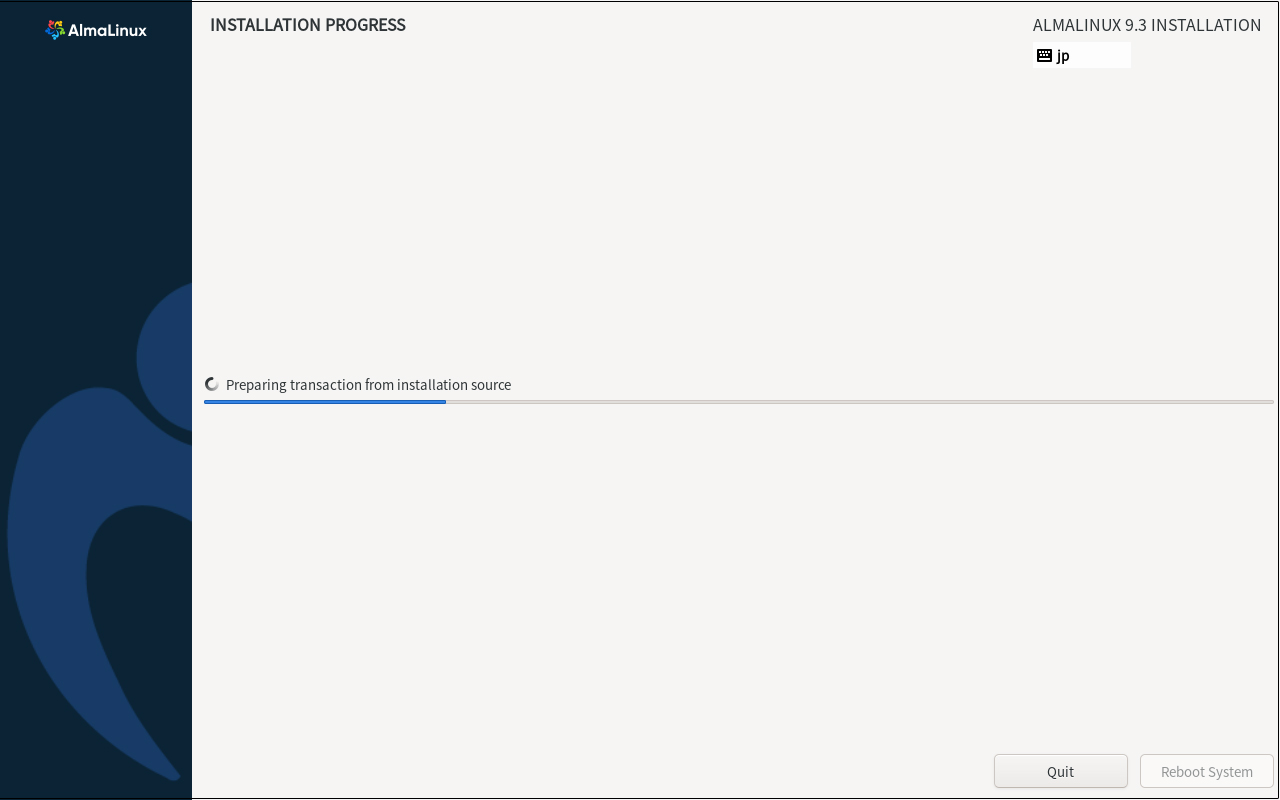
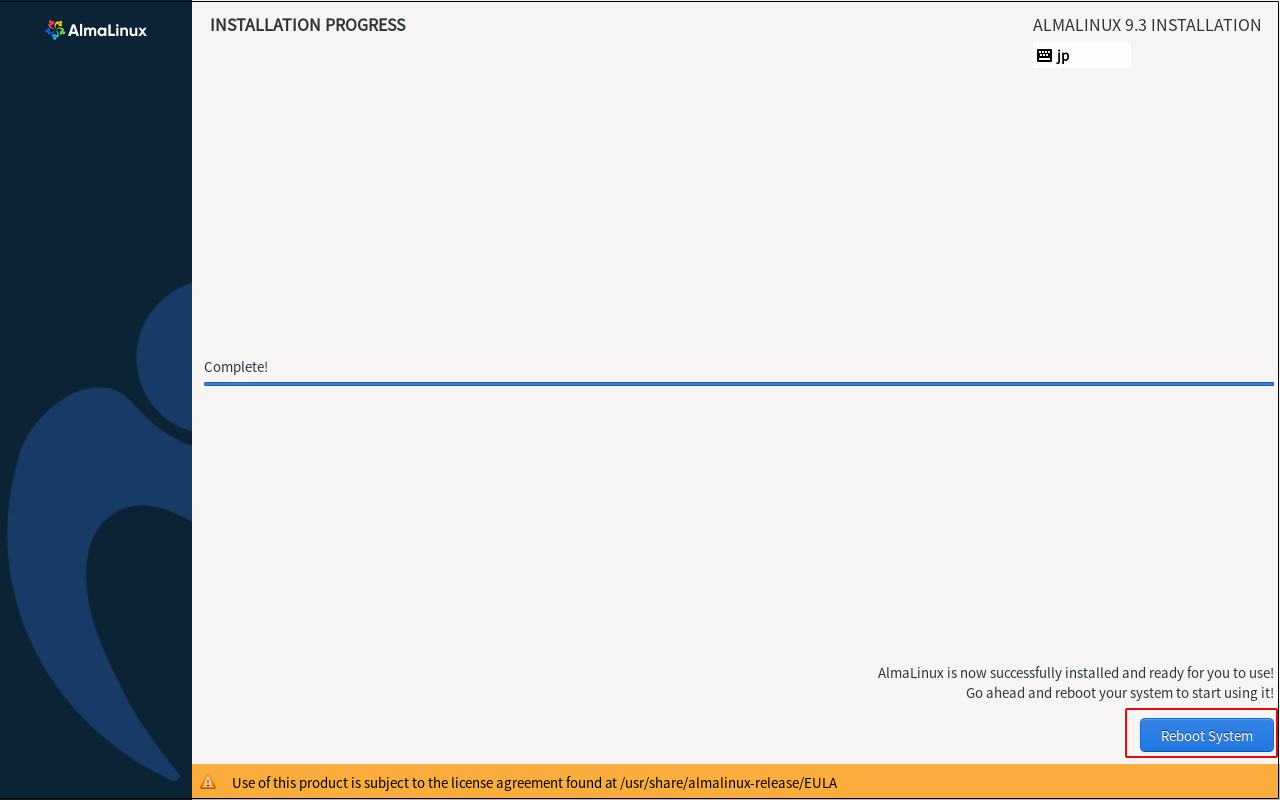
2. 10 [Begin Installation]をクリック
インストールが始まります
インストールが完了したら、[Reboot System]をクリック
再起動をクリックすると、次のように「ホスト名 login:」画面になる
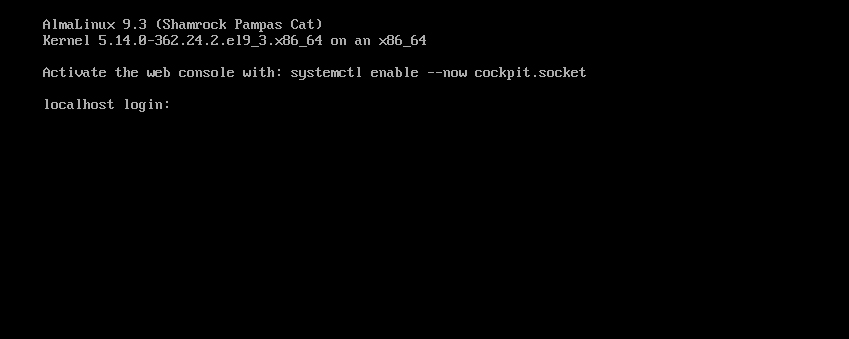
先ほど作成した一般ユーザーのユーザー名とパスワードでログインしてください。
bashのプロンプト”$"が表示されれば、ログインは完了です。